In short
A stadium control room video wall gives security, facilities and event staff a shared view of cameras, gate queues and incidents. In a sports venue control room, start with what each team needs to see during routine operations and an incident. Use the worked layouts, stand recording and downloadable acceptance worksheet below to plan that workflow.
Stadium control room and public LED displays
The operations wall serves security, facilities and event staff. Scoreboards, ribbon displays and entertainment screens serve spectators and belong to a separate production workflow. Craft Wall supplies the shared visual workspace; existing VMS, access-control, radio and incident-management systems remain responsible for their own operational functions.
Example: standing-watch and incident scenes
This example uses six camera views, two browser dashboards, a weather view, an incident board and a production-confidence feed: eleven visible sources. It is a design exercise, not a stadium customer reference or a server-capacity measurement. Agree the information each team can access before arranging the canvas.
| Wall zone | Standing watch | Gate incident |
|---|---|---|
| Left: access and security | Six camera views of gates and circulation areas | Enlarged affected-gate camera, with adjacent views retained |
| Centre: event state | Queue dashboard and incident board | Incident details and the authorised response team's status |
| Right: operational context | Facility dashboard, weather and confidence feed | Keep weather and facility information visible; reduce the confidence feed if necessary |
Give the scenes clear names and agree who can activate them. After the response, the operator restores the standing-watch scene and checks that the right feeds are live. A wall layout supports situational awareness; it does not replace the venue's incident procedure.
From an alarm to a scene: evidence from the stand
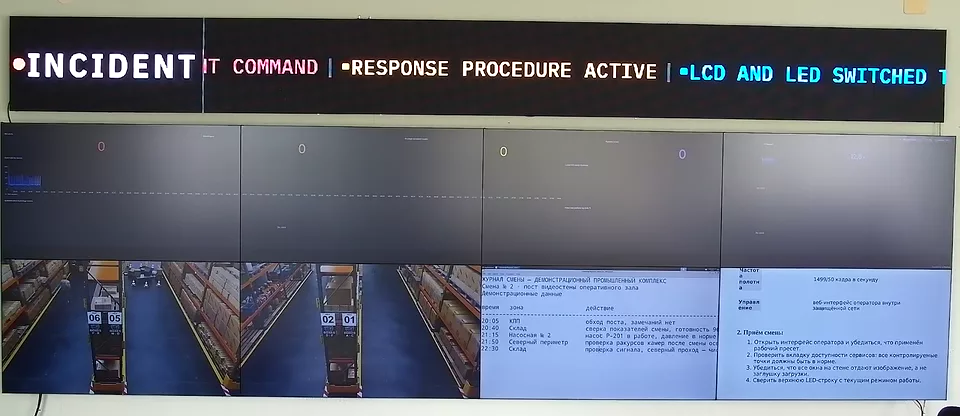
The recording at the top of this page shows a test alarm switching the Craft Wall stand to an incident scene, filmed by the room camera. It demonstrates that product workflow. It does not demonstrate an integration with a named stadium, gate controller or emergency-service platform.
For your venue, map an authorised event source to the agreed scene and test the complete path: event received, rule matched, scene shown, operator response and return to normal. See alarm automation for the product functions and the PoC checklist for arranging a test with your sources.
Source connections and integration boundaries
- Cameras: use supported video streams or an authorised VMS view. Confirm the required codec, resolution, credentials and network access.
- Gate and facility data: use a browser dashboard, remote desktop or agreed integration. Displaying a status page does not give the wall permission to operate doors or building equipment.
- Production confidence: agree a supported network feed or capture path and verify it with the production team.
- Weather and incidents: identify the authoritative system and make its timestamp or freshness visible where possible.
The source-format table explains supported input types. Inventory both normal-event load and the additional feeds needed during an incident; they may produce different GPU and network requirements.
Acceptance before event day
Download the two-page acceptance worksheet (PDF) and editable test record (CSV). Record your configuration, agreed criteria, observed results and evidence with the integrator. Both files are unfilled templates; agree the targets before testing.
- Save the source list, server/GPU configuration, software version and display-output map with the test record.
- Load both scenes at the intended resolution. Check readability from each team's working position.
- Trigger an agreed test alarm and observe the physical wall. Record the elapsed time rather than estimating it from a UI indicator.
- Disconnect a test feed, reconnect it and check the other views throughout. Test a stale or logged-out dashboard as well.
- Confirm who can acknowledge the event and restore the normal scene. Complete a rehearsal with the venue teams before operational use.
Sizing, cost and the next step
Choose LCD or LED geometry after the source and readability checks. Size GPU capacity, physical outputs and capture hardware for the peak scene. The licence is €2,500 per server; displays, installation, network changes and commissioning need their own project lines. Use the sizing calculator and TCO model to prepare the scope.
For related planning, see crisis-management rooms, command centres and the video wall software comparison.